The Secret to a Long-Lasting Paint Job Most Homeowners Overlook

Painting your house can really make it look great, and it's often not as hard on the wallet as other home updates. You pick a color, slap it on, and boom – new look. But what happens when that fresh coat starts looking tired way too soon? Most folks think it's just about the paint color or how much paint they used. The real secret to a paint job that sticks around, looking good for years? It's all in the steps most people skip. The Secret to a Long-Lasting Paint Job (Most Homeowners Don’t Know This) is all about what happens *before* the paint even touches the wall.
Key Takeaways
- Proper surface prep is the most important part of a paint job that lasts, even more than the paint itself.
- Always clean and repair any damaged wood or surfaces before you start painting.
- Using the right primer for the surface helps the paint stick better and last longer.
- Taking care of your home, like managing moisture inside and out, protects your paint from damage.
- Regular cleaning and fixing small issues quickly can help your paint job stay looking good for years.
The Foundation of Longevity: Meticulous Surface Preparation
Alright, let's talk about the real secret to a paint job that actually lasts. Forget fancy colors or the latest trends for a second. The absolute, no-kidding, most important part of painting your house, whether it's inside or out, is what happens before the paint even comes out of the can. Seriously, most of the work, and honestly, the most critical work, is all about getting the surface ready. If you skip this, you're basically setting yourself up for peeling paint and a whole lot of frustration down the road.
Before you even think about slapping on a fresh coat, you've got to be a detective. Look for any signs of trouble hiding under that old paint. We're talking about things like rot, especially on wood siding or trim. If you find any soft, crumbly spots, that's rot, and you need to deal with it. Using something like epoxy wood fillers can patch these areas up nicely. Also, keep an eye out for any cracks or holes. Small ones can be filled with caulk or spackle, but bigger ones might need more attention. And don't forget about mold or mildew. Give those spots a good scrub with a cleaner designed for them. Ignoring these issues means you're just painting over a problem that will eventually show up again, and probably worse than before.
The truth is, a lot of what makes a paint job fail isn't the paint itself, but the condition of the surface underneath. It's like building a house on a shaky foundation – it's just not going to stand the test of time.
Once you've fixed any damage, you need to get things clean. And I don't just mean a quick wipe-down. You need to get rid of all the dirt, grime, chalking (that's powdery residue from old paint), and any grease. For exteriors, a gentle power wash on a low setting can work wonders, but be careful not to blast away good wood. Let it dry completely afterward. Inside, a good scrub with a mild detergent or a TSP substitute is usually the way to go. Make sure you rinse thoroughly, because leftover soap residue can mess with how the new paint sticks. This step is super important for making sure the primer and paint have something solid to grab onto.
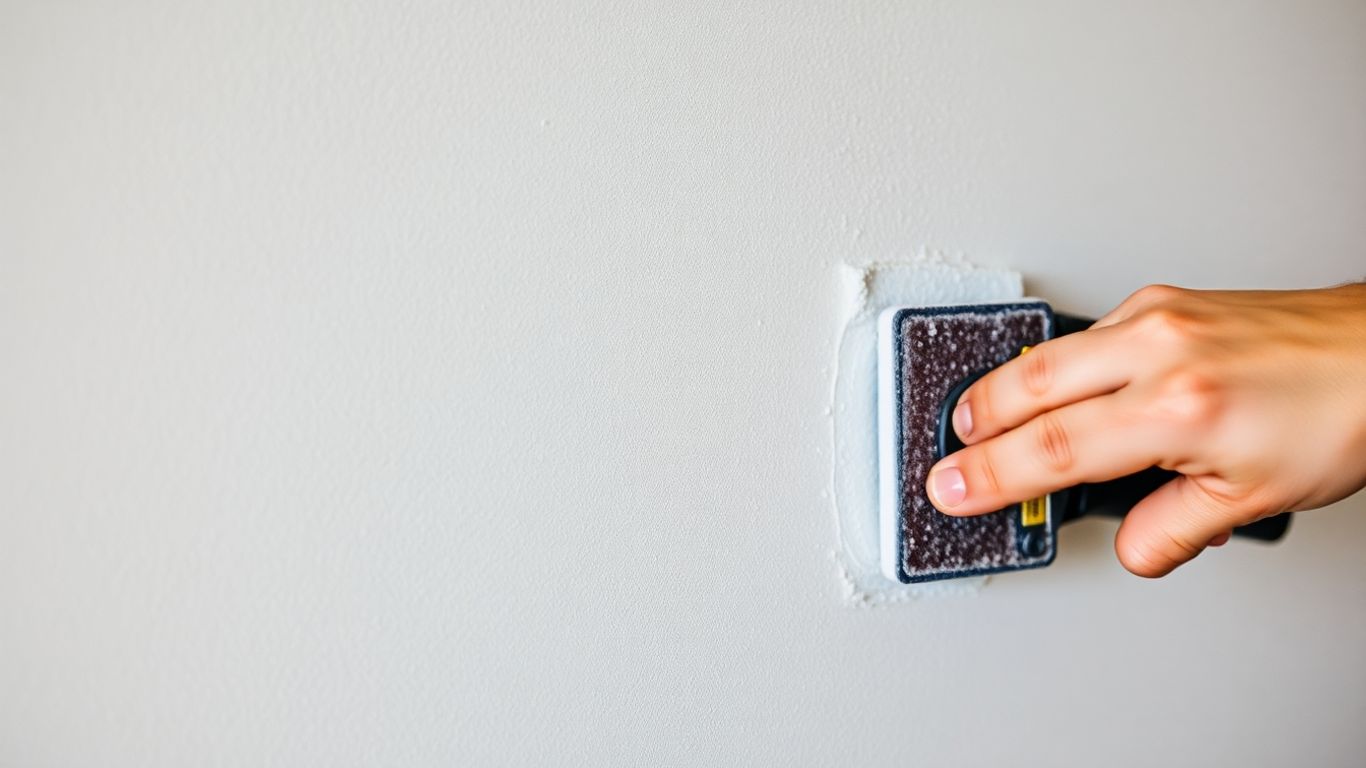
After cleaning and drying, it's time to get things smooth. This usually means scraping off any loose or peeling paint. Use a scraper that's designed for the job – a pull-style one works well on wood. You want to get rid of the rough edges. Then comes sanding. You're not trying to make it perfectly smooth like glass everywhere, but you do want to feather those scraped edges so you can't feel them when you run your hand over them. If you're painting over a glossy surface, you'll need to lightly sand it down to give the new paint some 'tooth' to adhere to. This whole prep process, from fixing damage to cleaning and sanding, is what makes the difference between a paint job that looks okay for a year or two and one that looks great for a decade. It's a lot of work, but trust me, it's worth it for long-lasting results.
Beyond the Brush: The Role of Quality Materials
So, you've prepped your surfaces until they're smoother than a baby's bottom and you're ready to slap on some paint. Hold on a second! Before you grab just any old can off the shelf, let's talk about what goes into that can and what you use to get it there. This is where a lot of DIY paint jobs go sideways, and honestly, it's not entirely your fault. The paint aisle can be overwhelming, and sometimes, the cheapest option just seems like the most sensible choice. But when it comes to a paint job that actually lasts, the materials you choose make a massive difference.
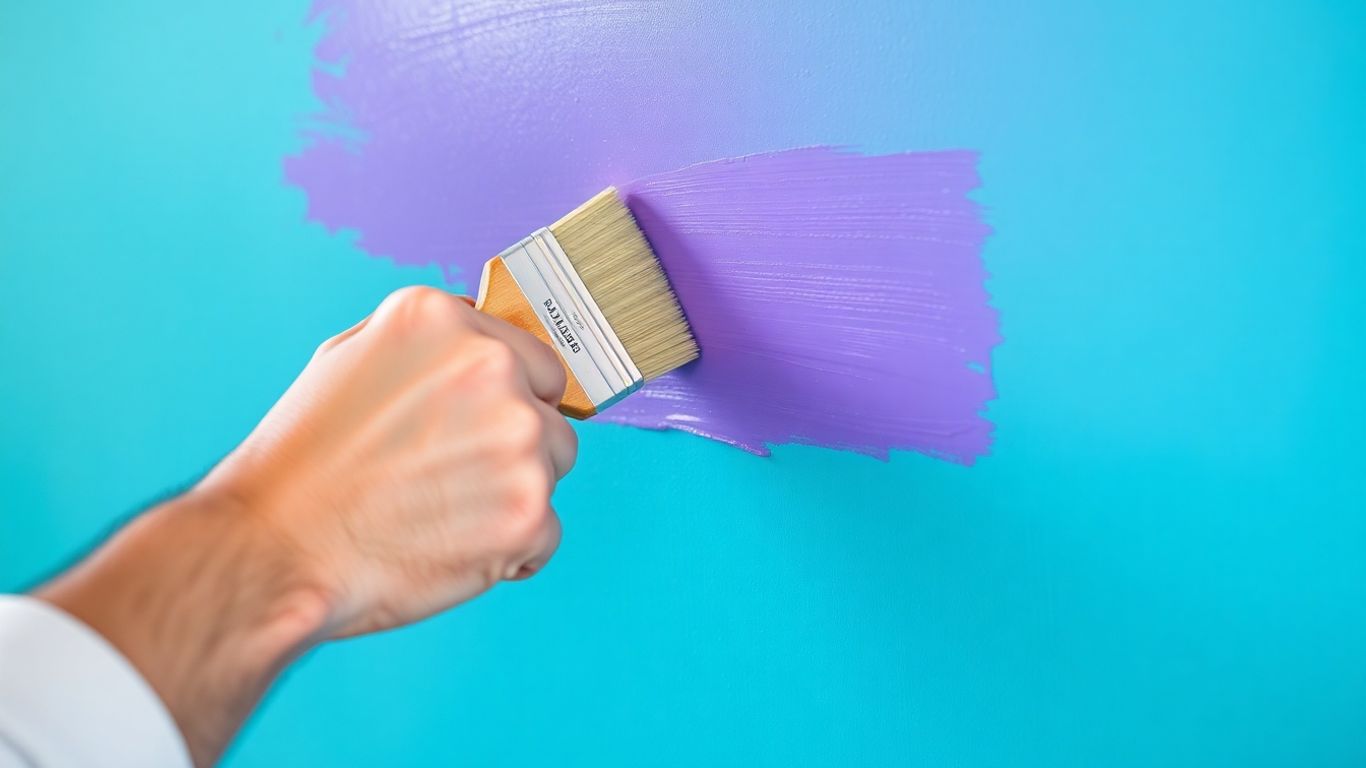
Selecting the Right Paint for Your Home's Exterior
Picking the right paint isn't just about picking a color you like. Different parts of your house need different kinds of protection. For instance, your siding might need a flexible acrylic that can handle expansion and contraction with the weather. But what about your front door? That gets a lot more wear and tear, so you might want something tougher, like an oil-based enamel. And don't even get me started on older homes with specific needs. If you've got bare wood that's never been painted, you might be looking at something like linseed oil paints for that authentic, aged look. Stucco walls? They often do best with elastomeric coatings that can stretch and move. It's all about matching the paint to the surface and its environment. You can find a wide variety of options at places like DipYourCar.com.
Investing in Professional-Grade Tools
Let's be real, those cheap brushes you grab from the dollar store? They're usually more trouble than they're worth. They shed bristles like a cat in July, leave streaks, and just make the whole process frustrating. Professionals know that good tools are an investment. A quality brush holds more paint and applies it more evenly. The type of bristle matters too – natural for oil-based paints, synthetics for latex. The same goes for rollers. You need the right nap length for the surface you're painting. A short nap is great for smooth surfaces, but if you've got textured walls, you'll need a longer nap to get into all those nooks and crannies. Using the right tools doesn't just make the job easier; it makes it look better and last longer.
Understanding Different Paint Finishes and Their Durability
Paint finishes, or sheens, are more than just how shiny the paint is. They actually affect how durable the paint is and how it holds up over time. A flat finish is great for hiding imperfections on walls, but it's tough to clean. If you try to scrub it, you might just end up with a shiny spot. Satin is often the sweet spot for exterior paint – it's got some durability and can be cleaned without looking too plasticky. Semi-gloss is nice for trim because it makes details pop, but it will show every single flaw in the surface underneath. And high gloss? That looks amazing, but it demands absolutely perfect prep work. If there's even a tiny bump or rough patch, the gloss will highlight it.
The sheen you choose impacts not only the look but also the paint's ability to withstand cleaning and general wear. A higher sheen generally means better washability and durability, but it also means imperfections on the surface will be more noticeable.
Here's a quick rundown:
- Flat/Matte: Hides imperfections well, but low durability and washability.
- Eggshell/Satin: Offers a good balance of hiding imperfections, durability, and washability. Great for most interior walls and exterior applications.
- Semi-Gloss: More durable and washable, good for trim, doors, and high-moisture areas like bathrooms and kitchens.
- High-Gloss: Most durable and washable, but highlights surface imperfections. Best for trim, doors, and cabinets where a statement finish is desired.
The Unsung Hero: Priming for Protection
Why Primer is Essential for Adhesion
Okay, let's talk about primer. Most people just want to slap on the color and be done with it, right? But skipping primer is like building a house without a solid foundation. It's the stuff that helps your paint actually stick to the surface. Without it, you're asking for trouble down the road – think peeling, bubbling, and stains showing through. It's not the most exciting part of painting, I get it, but it's seriously important if you want that paint job to last.
Choosing the Correct Primer for Various Surfaces
Not all primers are created equal, and using the wrong one is almost as bad as skipping it altogether. You've got different types for different jobs. For old, chalky surfaces, you might want an oil-based primer because it really grabs on and seals things up. If you're dealing with new drywall or a surface that's already in pretty good shape, a good water-based acrylic primer usually does the trick. It's all about matching the primer to what you're painting on.
Here's a quick rundown:
- Oil-based/Alkyd: Great for sealing stains, blocking odors, and adhering to slick surfaces. Good for wood, metal, and previously painted surfaces.
- Water-based/Acrylic: Good all-around primers for drywall, plaster, and wood. They dry fast and are easy to clean up.
- Shellac-based: The heavy-hitter for tough stains like smoke, water damage, or knots in wood. Dries super fast but can be brittle.
Picking the right primer means your topcoat has something solid to grip onto, preventing future headaches and making your paint job look way better for longer.
The Critical Step of Priming End Grains
This is one of those little details that makes a huge difference, especially on exterior wood. You know those cut ends of wood, like on the edges of siding or trim? They act like little straws, soaking up moisture. If you don't prime those end grains really well, water can get in there, causing the wood to swell and rot, and eventually pushing your paint right off. So, when you're prepping, make sure you really load up the primer on those exposed ends. It's a small step that adds years to your paint job's life.
Environmental Factors That Impact Paint Durability
So, you've prepped like a pro, picked out the perfect paint, and maybe even laid down a solid coat of primer. Awesome! But hold on a sec, because the weather and your home's environment play a bigger role in how long that paint job actually lasts than most people realize. It's not just about what you do with the brush; it's about what Mother Nature and your own house are doing too.
Managing Interior Humidity Levels
Believe it or not, the air inside your house can mess with your paint. If you've got high humidity, especially in places like bathrooms or kitchens, that moisture can get trapped. When it tries to escape, it can push against the paint from the inside out, leading to bubbles or even peeling down the road. It's like a tiny, invisible battle happening right on your walls. Keeping things drier inside, maybe with a dehumidifier or better ventilation, really helps paint stick around longer.
Protecting Against Exterior Moisture Damage
This one's a biggie for the outside of your home. Rain, snow, dew – water is everywhere. If your paint isn't properly applied or if there are tiny cracks, water can seep in. This can cause the wood underneath to swell and rot, and guess what? The paint on top is going to start failing. We're talking peeling, blistering, and a general sad look. Making sure your gutters are clear and that water drains away from your foundation is super important. It's all about keeping that exterior paint dry and protected.
The Effects of Sun Exposure on Paint
We all love a sunny day, but the sun can be tough on paint. Those UV rays are strong, and over time, they can break down the paint's binders. This leads to fading, where your vibrant color turns dull. You might also see chalking, where a powdery residue forms on the surface, or even cracking and peeling if the sun's heat and rays really beat down on it. Darker colors tend to show fading more, and walls that face south or west get the brunt of it. Choosing paints with good UV resistance can make a difference, but even the best paint will eventually show some wear from constant sun exposure.
Sometimes, the biggest enemies of a paint job aren't the tools or the paint itself, but the conditions it has to live in. Thinking about how moisture and sunlight interact with your home's surfaces before you even pick up a brush can save you a lot of headaches later on.
Maintenance: The Key to Extended Paint Life
So, you've gone through all the trouble of prepping, priming, and painting. That's awesome! But here's the thing most folks forget: the job isn't really done when the last brushstroke dries. Think of it like taking care of a car; you wouldn't just buy it and never change the oil, right? Your paint job needs a little TLC too, if you want it to stick around for years and not just a season or two.
Regular Cleaning to Prevent Damage
Dirt, grime, mildew, and even just plain old dust can build up on your exterior paint over time. This stuff isn't just ugly; it can actually start to break down the paint itself, especially in damp areas. Giving your house a good wash every year or two can make a huge difference. You don't need a super high-pressure washer – that can actually damage the paint and wood underneath. A soft brush, some mild soap, and a garden hose are usually all you need. Focus on areas where you see mildew or a lot of shade, as those tend to hold onto moisture and gunk.
- Spring Cleaning: After winter, give your home's exterior a good rinse to wash away salt, sand, and any other debris that accumulated.
- Mildew Patrol: Keep an eye out for any greenish or blackish spots, especially on the north side of your house or under eaves. Tackle these early with a diluted bleach solution (about 1 part bleach to 3 parts water) or a specialized mildew cleaner.
- Rinse Thoroughly: Whatever you use to clean, make sure you rinse it all off completely. Leftover soap or cleaner residue can attract more dirt or even affect the paint's finish.
Promptly Repairing Minor Issues
This is where you can really save yourself a headache and a lot of money down the road. See a small chip in the paint? A tiny crack in the caulk? Don't just ignore it. These little problems are like an open invitation for water to get in where it shouldn't. Water is the enemy of paint and wood. It can seep under the paint, causing it to bubble and peel, and if it gets into the wood, you're looking at rot.
- Chips and Scratches: Touch these up as soon as you notice them. A small dab of the original paint can seal the spot and keep it from spreading.
- Cracked Caulk: Check the seals around windows, doors, and trim. If the caulk is cracked or pulling away, scrape out the old stuff and reapply new caulk. This is super important for keeping water out.
- Wood Damage: If you spot any soft or rotten wood, get it fixed right away. Small spots can often be repaired with wood filler or epoxy. Bigger issues might need a professional, but it's way cheaper than replacing siding later.
Ignoring small problems is like letting a tiny leak in your roof go unfixed. It might seem minor now, but it can lead to major water damage and costly repairs later on.
Understanding When Repainting Becomes Necessary
Even with the best maintenance, paint doesn't last forever. Eventually, it's going to wear out. Knowing when it's time to repaint is key to protecting your home. You don't want to wait until the paint is completely failing, because that means the underlying surfaces are likely being exposed to the elements.
- The 10-Year Rule (Sort Of): While not a hard and fast rule, many exterior paint jobs start showing significant wear and tear around the 7-10 year mark, depending on the quality of the paint, the prep work, and the climate. If yours is getting close, start thinking about it.
- Visible Wear: Look for widespread fading, chalking (rubbing off powdery residue), cracking, peeling, or blistering. If you're seeing these issues in multiple areas, it's probably time.
- Protection Factor: The main job of exterior paint is to protect your home. If it's no longer doing that job effectively, it's time for a refresh. Think of it as giving your house a new coat of armor.
The Professional Difference: Expertise and Technique
Most folks think painting is as simple as buying a few cans, grabbing a roller, and calling it a weekend. But if you’ve ever stood squinting at brush marks or uneven colors after a DIY attempt, you know it’s trickier than YouTube makes it look. What really makes a paint job shine and last comes down to pro-level prep, steady hands, and knowing a thing or two about the right way to apply product.
Why Professionals Prioritize Prep Work
Professional painters often spend more time preparing than actually painting. It's not about skipping straight to the color—it’s about what happens before that brush even enters the can. Here’s what the pros do before picking up a roller:
- Patch every crack, dent, or hole, no matter how tiny
- Sand and smooth rough spots until they’re perfectly flat
- Clean surfaces to remove grease, dirt, and dust
- Tape edges and protect floors and furniture with drop cloths
- Remove outlet covers and fixtures to prevent missed spots
Often, the time spent prepping is what sets apart a quick weekend job from long-lasting, pro-level results.
The Skillful Application of Paint
Getting a perfectly even coat on every wall isn’t about luck. Painters use techniques and tools that DIYers rarely try. Some secrets include:
- Cutting in by hand (no tape needed) to make sharp, clean lines around trim and ceilings
- Rolling paint using a "W" or "M" pattern for even coverage
- Keeping a wet edge so there are no streaks or lap marks
- Applying multiple thin coats instead of one thick, drippy layer
- Paying attention to how lighting changes the appearance of color
| Technique | DIY Results | Pro Results |
|---|---|---|
| Dripping & thick layers | Common | Rare |
| Even lines at edges | Hard to achieve | Standard practice |
| Streaks or lap marks | Frequent | Nearly eliminated |
Ensuring Safety and Efficiency on the Job
It’s easy to overlook the safety part of painting. Contractors know how risky ladders, fumes, and heavy tools can be. Here’s how they keep things safe and smooth:
- Use the right ladder height for every room—no balancing acts
- Wear masks or ventilate well when needed
- Organize tools and clean up spills promptly
And here’s the best part: professionals move fast because they work in teams, plan every step, and never scramble for lost tools. Your home isn’t a construction site for weeks—jobs are finished on schedule, often before you expect.
When you see a flawless paint job, there’s more than color at work. It’s the result of steady hands, patience, and step-by-step skills that take years to learn—the real difference experts bring with every brushstroke.
When you need painting or deck work done, you want someone who really knows their stuff. That's where we come in! Our team has been doing this for a long time, and we're super careful with every job, big or small. We make houses look great inside and out, fix up decks, and handle repairs. We care about doing a good job that lasts. Want to see how we can make your home look amazing? Visit our website today!
So, What's the Real Secret?
Look, painting your house might seem like a simple weekend project, but as we've seen, there's a lot more to it than just slapping on some color. Most folks just want the job done fast, but that's exactly why paint jobs don't last. The real trick, the thing most people skip, is all about the prep work. Cleaning, fixing, sanding, priming – that's where the magic happens. It takes time, sure, but doing it right means your paint job won't just look good for a year or two; it'll actually protect your home and look great for years to come. So next time you're thinking about painting, remember: slow and steady wins the race, especially when it comes to your walls.
Frequently Asked Questions
Why is preparing the surface so important before painting?
Think of surface prep like building a strong foundation for a house. If the walls are dirty, cracked, or damaged, the paint won't stick well. This means it might peel or look bad much sooner. Cleaning, fixing holes, and making the surface smooth helps the new paint grab on tight and last way longer.
What's the difference between cheap and good quality paint brushes?
Cheap brushes can leave fuzzy bits or streaks on your walls, making the job look messy. Good quality brushes, on the other hand, are made better. They spread paint smoothly and evenly, so your walls look neat and professional. It's worth spending a little more for better tools!
Do I really need to use primer?
Yes, primer is like a helpful middle layer! It helps the paint stick better to the surface, especially if it's old, stained, or a different color. Primer also helps cover up any dark colors you're painting over, so you don't need as many coats of your final paint color. It makes the whole job easier and the paint lasts longer.
How does humidity affect my paint job?
Too much moisture, like from a steamy bathroom or a leaky roof, can cause problems for paint. Water can get trapped behind the paint and make it bubble up or peel off. It's best to fix any moisture issues before you paint and keep the air dry, especially when painting the outside of your house.
How often should I clean the outside of my house to protect the paint?
Cleaning your house's exterior about once a year is a good idea. Washing off dirt, cobwebs, and any mildew stops gunk from building up and damaging the paint. It helps keep the paint looking fresh and prevents bigger problems down the road.
Why do professional painters seem to take so long on prep work?
Professionals know that the real secret to a long-lasting paint job is in the preparation. They spend a lot of time cleaning, fixing cracks, sanding, and making sure everything is just right before they even start painting. This careful step-by-step process ensures the paint will stick well and look great for many years.


Comments
Post a Comment