Wallpaper Removal Without Regrets: Your Ultimate Guide to Preparing Walls for Paint
So, you're thinking about ditching that old wallpaper and giving your walls a fresh coat of paint? That's a great idea! But before you grab that roller, let's talk about what happens *before* the paint goes on. Removing wallpaper can be a real pain, and if you don't prep your walls right afterward, your new paint job might not turn out how you hoped. This guide is all about making sure you get that smooth, clean surface you need for a paint job you'll love. We're covering Wallpaper Removal Without Regrets: Preparing Walls for Paint the Smart Way.
Key Takeaways
- Protect your room by covering furniture and floors before you start any messy work.
- Score the wallpaper, apply remover, and let it soak in to make stripping easier.
- Scrape away all the wallpaper and then tackle any leftover glue with sandpaper.
- Clean your walls really well after scraping and sanding, and let them dry fully.
- Use primer to seal the walls and give your paint a nice, even base to stick to.
Essential Steps Before You Begin Wallpaper Removal
Alright, so you've decided to ditch the wallpaper and go for a fresh coat of paint. Smart move! But before you even think about peeling that first corner, there are a few things you absolutely need to get sorted. Skipping these steps is like trying to bake a cake without preheating the oven – it's just not going to turn out right, and you'll probably end up with a mess.
Protecting Your Workspace and Furniture
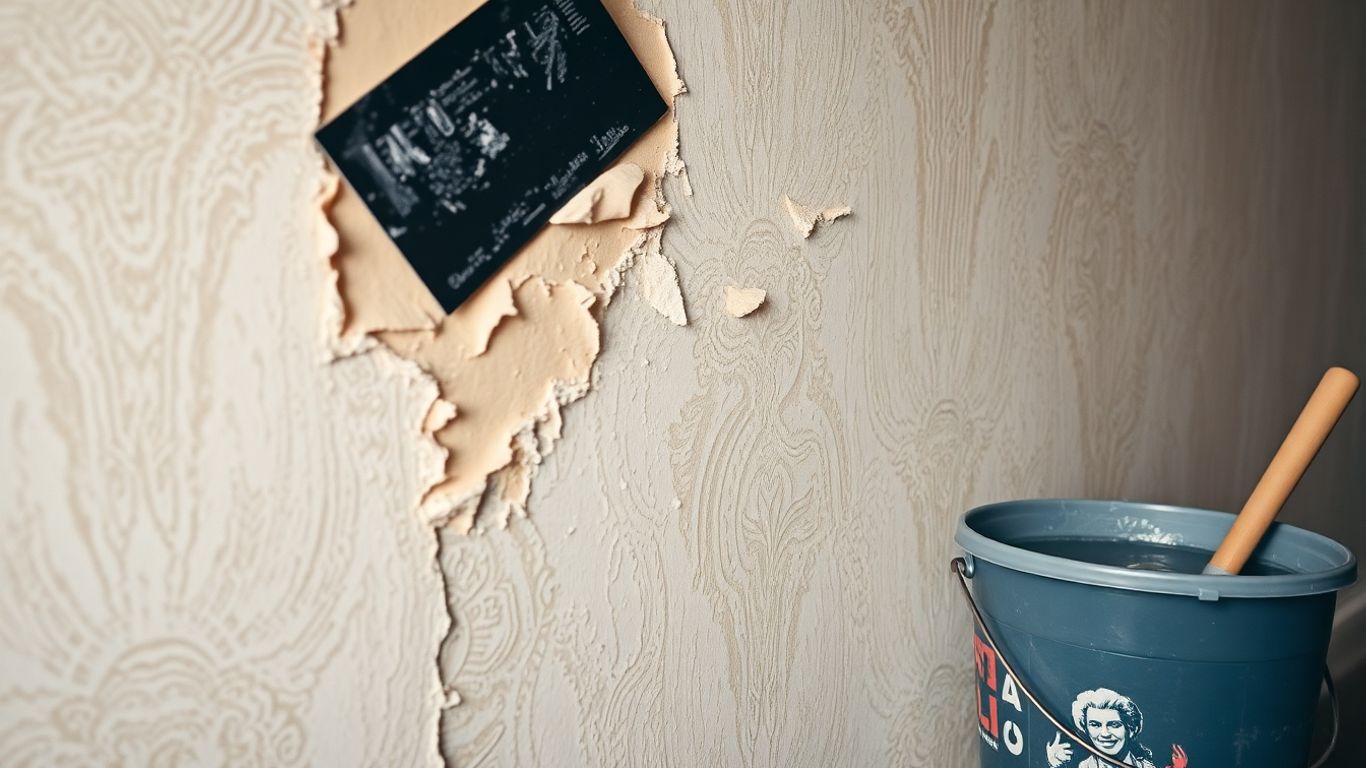
First things first, let's talk about protecting your stuff. Wallpaper removal can get messy. We're talking dust, old adhesive goo, and maybe even some water. You don't want any of that ending up on your couch or your favorite rug. So, clear out as much as you can from the room. Move furniture to the center, or even better, to another room if possible. Then, cover everything that's left with old sheets, tarps, or plastic drop cloths. Don't forget the floor! Lay down painter's tape along the baseboards and cover the entire floor with drop cloths. This might seem like a lot of work upfront, but trust me, it's way easier than trying to scrub dried-on wallpaper paste out of your carpet.
Gathering Necessary Tools and Equipment
Now, let's get our toolkit ready. Having everything you need within reach will make the whole process go much smoother. You don't want to be halfway through stripping a wall and realize you're missing a scraper or the right kind of remover. Here's a basic rundown of what you'll likely need:
- Scoring Tool: This is for making tiny holes in the wallpaper so the remover can soak in. A specialized wallpaper scorer works best, but a utility knife or even a fork can do in a pinch.
- Wallpaper Remover: You can buy this stuff at most hardware stores. It comes in liquid or concentrate form. Make sure to read the instructions carefully.
- Scrapers: A putty knife or a wider wallpaper scraper is your best friend for getting under the paper and peeling it off.
- Steamer (Optional but helpful): For really stubborn wallpaper, a steamer can be a lifesaver.
- Bucket and Sponge: For applying remover and cleaning up.
- Ladder or Step Stool: You'll need this to reach the top of the walls.
- Safety Gear: Gloves and eye protection are a good idea.
Ensuring Proper Ventilation
This step is super important, especially if you're using chemical wallpaper removers or a steamer. You need to be able to breathe! Open up windows and doors to get a good cross-breeze going. If you don't have great airflow, consider using a fan to help circulate the air. Some wallpaper removers have strong fumes, and you don't want to be inhaling that stuff for hours on end. Plus, good ventilation helps the walls dry faster later on.
Remember, the goal here is to make the actual wallpaper removal process as painless as possible. Taking these preparatory steps seriously will save you a lot of headaches down the line. It's all about setting yourself up for success before you even touch the walls.
So, get your space prepped, your tools gathered, and your ventilation sorted. Once all that's done, you'll be ready to move on to the fun part: actually stripping that old wallpaper!
Mastering the Art of Wallpaper Stripping
Alright, so you've decided to ditch the old wallpaper and go for a fresh coat of paint. Good choice! But before you get to the fun part, we've got to get that old paper off. This isn't always as simple as it looks, especially if the wallpaper has been up for ages or if it's a trickier material like grasscloth. Don't worry, though. With the right approach, you can tackle this without too much fuss.
Scoring the Wallpaper for Easier Removal
Think of scoring as giving the wallpaper a little help to let the remover do its job. You're basically creating tiny holes so the liquid can seep through the layers and get to the glue underneath. Without this step, you might find yourself scrubbing forever.
- Use a scoring tool: These look a bit like small wheels with tiny spikes. Gently roll it over the entire surface of the wallpaper. Don't press too hard, you just want to perforate the paper, not gouge the wall.
- Cover the whole area: Make sure you score in a crisscross pattern or just go over it thoroughly. Pay attention to edges and seams.
- Be mindful of the wall: If you're scoring plaster walls, be extra gentle. You don't want to damage the plaster itself, just the wallpaper layer.
Applying Wallpaper Remover Effectively
Once your walls are scored, it's time for the remover. There are different types out there – some are liquid concentrates you mix with water, others are ready to go. Always read the product's instructions first. Seriously, don't skip this part!
- Mix if needed: If you have a concentrate, mix it according to the directions. Too much or too little can affect how well it works.
- Apply generously: Use a roller or a large sponge to apply the remover evenly over the scored wallpaper. You want to saturate it, but not so much that it's dripping everywhere.
- Let it sit: This is where patience comes in. The remover needs time to break down the adhesive. The label will tell you how long to wait, usually around 10-15 minutes. You'll often see the wallpaper start to bubble or loosen.
If the wallpaper doesn't seem to be loosening up after the recommended time, don't be afraid to apply a second coat and wait a bit longer. Sometimes, older wallpaper or stubborn glue needs a little extra persuasion.
Scraping Away Stubborn Wallpaper
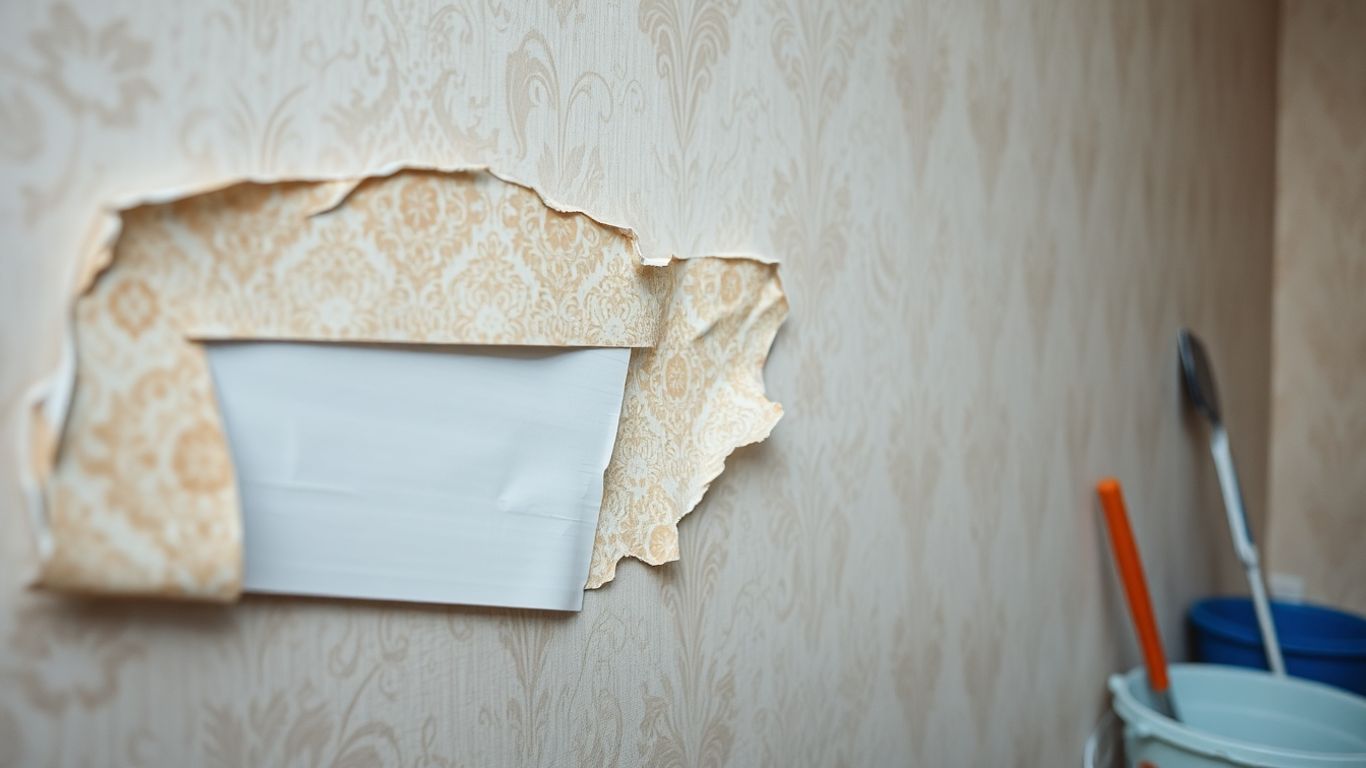
Now for the satisfying part – peeling it all off! Grab your scraper or putty knife. Start at a seam or a corner where the wallpaper is already lifting.
- Work from top to bottom: It's usually easiest to start at the top of the wall and work your way down. This way, gravity helps you out.
- Angle your scraper: Hold your scraper at a low angle to the wall. This helps you slide it under the wallpaper without digging into the drywall.
- Be persistent: Some sections will come off in big sheets, others will be small, stubborn bits. For those really tough spots, a wallpaper steamer can be a lifesaver. Just hold it against the paper for a minute or two, and it should loosen up enough to scrape.
The key here is to be patient and methodical; rushing can lead to gouging the walls, which you'll have to fix later.
Tackling Lingering Adhesive and Imperfections
So, you've wrestled the wallpaper off the walls. Great job! But hold on, the job isn't quite done yet. You'll likely find some sticky residue left behind, and maybe a few nicks and dings from your scraping efforts. We need to deal with that before we even think about painting.
Removing Residual Wallpaper Glue
This is probably the most annoying part. That wallpaper paste can be stubborn. You've got a few options here. For most glues, warm water and a good scrub brush will do the trick. If it's really stuck on there, you might need a dedicated wallpaper adhesive remover. Just follow the product instructions carefully. Some people swear by a mix of vinegar and hot water, too. Whatever you use, make sure you get all the gunk off. Leaving glue residue behind is a recipe for paint disaster. You want a clean surface for the paint to stick to, not a sticky mess.
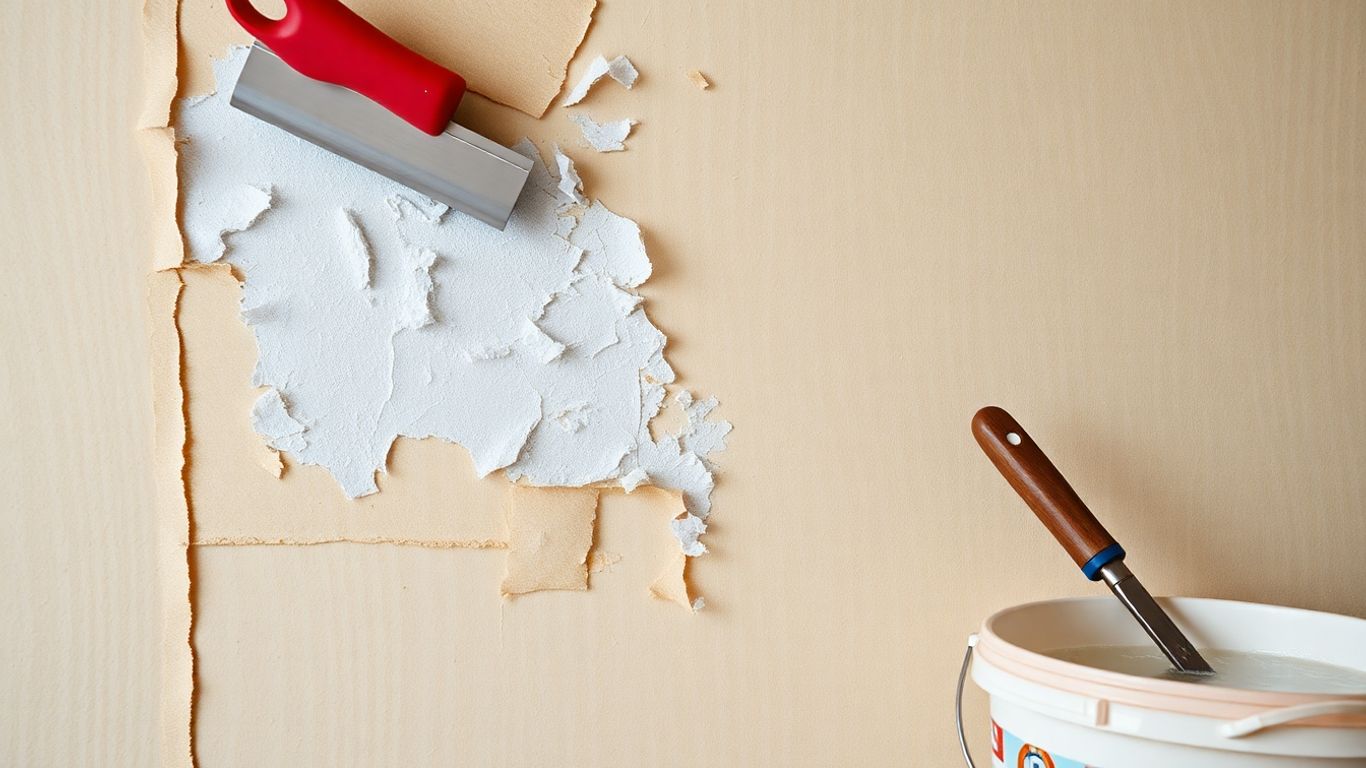
Sanding Walls for a Smooth Finish
Once the walls are clean and dry from glue removal, it's time for some sanding. This step is super important for getting that smooth, paint-ready surface. You don't need to go crazy here, just a light sanding will do. Use a medium-grit sandpaper, maybe around 120-grit. You're just trying to knock down any rough spots or high points left from the old wallpaper or the glue removal. If you used a lot of filler, you'll want to sand those areas smooth too. Don't forget to wipe down the walls with a damp cloth afterward to get rid of all that dust. A clean surface is key before you apply primer.
Repairing Holes and Cracks
Now's the time to fix any damage you uncovered. Those little dings and dents from scraping, or any existing holes and cracks, need attention. Grab some spackling paste or joint compound. For small holes and cracks, just a little dab will do. For bigger ones, you might need a couple of applications, letting each layer dry before adding the next. Once it's all dry, give those repaired spots a good sanding until they're flush with the rest of the wall. It's all about making those imperfections disappear so your paint job looks flawless.
Achieving a Pristine Surface for Paint
Cleaning Walls Thoroughly
Okay, so you've wrestled that old wallpaper into submission and scraped off any leftover glue. Now comes the part where we make sure your walls are actually ready for their fresh coat. Think of it like prepping a canvas – you wouldn't just slap paint on a dusty surface, right? Same idea here. Any leftover gunk, dust, or even just the residue from the wallpaper paste can mess with how your new paint looks and sticks. We need a clean slate.
Washing Away Dirt and Grime
This is where a good scrub comes in. You can use a sponge or a soft cloth with some warm water and a mild detergent. If you've got tougher spots, like grease marks or crayon scribbles from kids (we've all been there), a solution of sugar soap can work wonders. Just mix it up according to the package directions. After you've scrubbed, you'll want to rinse the walls down with clean water to get rid of any soap residue. Don't skip this rinse step; leftover soap can also make paint behave strangely.
Ensuring Walls Are Completely Dry
This is super important. You absolutely cannot paint over damp walls. It's a recipe for peeling paint and potential mold issues down the line. So, after you've washed and rinsed, give your walls plenty of time to air dry. Opening windows and using fans can speed things up. You can even do a quick check by touching a spot on the wall; it should feel completely dry and not cool to the touch.
Don't rush the drying process. Patience here saves a lot of headaches later on. A damp wall is a painter's worst enemy.
Here's a quick checklist for this stage:
- Wipe down walls with a sponge and mild soap solution.
- Address stubborn spots with sugar soap if needed.
- Rinse walls thoroughly with clean water.
- Allow walls to air dry completely, using fans if necessary.
- Feel the wall to confirm it's dry before proceeding.
The Crucial Role of Priming Walls
Alright, so you've wrestled that old wallpaper into submission and patched up any boo-boos on the wall. What's next? It's time for primer. Think of primer as the unsung hero of your painting project. It's not just an extra step; it's the bridge between your wall's current state and that beautiful, smooth paint job you're dreaming of. Skipping it is like trying to build a house on shaky ground – it's just asking for trouble down the line.
Understanding Primer Benefits
So, why bother with primer? For starters, it makes your paint look way better and last longer. It creates a uniform surface that paint can really grab onto. This means no more weird shiny spots or dull patches where the paint decided to behave differently. It's especially helpful if you've got stains you're trying to cover up or if your walls are super thirsty (you know, those porous ones that soak up paint like a sponge).
Here's a quick rundown of what primer does for you:
- Better Adhesion: It gives your paint something solid to stick to, preventing peeling and chipping later on.
- Color Consistency: It blocks out any old colors or stains, so your new paint color shows up true and even.
- Smoother Finish: It fills in tiny imperfections, giving you that sleek, professional look.
- Less Paint Needed: By creating a good base, you often need fewer coats of your actual paint.
Applying Primer for an Even Base
Applying primer isn't rocket science, but doing it right makes a big difference. You'll want to use a good quality primer, and usually, one coat is enough. However, if you're dealing with really dark colors or stubborn stains, a second coat might be a good idea. Let each coat dry completely according to the product instructions before you even think about painting. Rushing this part is a common mistake, and trust me, you'll regret it when you see the results.
Addressing Specific Wall Issues with Primer
Sometimes, your walls have seen better days. Maybe there's a faint water stain from a leaky pipe ages ago, or perhaps you've patched up a few holes. A good primer can help hide these lingering marks. There are even special primers designed for tough jobs, like blocking out smoke or water stains. Just remember, primer isn't a magic fix for major problems like mold or active leaks. You've got to deal with the root cause of those issues first. Once the problem is fixed, a stain-blocking primer can then help cover up any remaining evidence.
Don't underestimate the power of a good primer. It's the foundation for a great paint job, helping to hide imperfections and ensuring your new color looks its best. It's a small step that pays off big time in the final appearance of your walls.
Preparing Walls for Paint the Smart Way
Alright, so you've wrestled that old wallpaper into submission and dealt with any sticky residue. Now comes the part where we get those walls truly ready for their fresh coat. This isn't just about slapping on some paint; it's about making sure that paint looks good and lasts. Think of it like prepping a canvas before an artist starts painting – you wouldn't hand them a lumpy, dirty canvas, right? Same idea here.
Removing Fixtures and Hardware
First things first, let's clear the decks. You'll want to take off anything that's attached to the walls. This means unscrewing light switch plates and outlet covers. If you've got any old nails, hooks, or even those sticky putty remnants, get them out. A putty knife or a scraper works wonders here. It's a good idea to tape the screws to the back of the plates you remove so you don't lose them later. It sounds simple, but trust me, hunting for tiny screws when you're covered in paint is no fun at all.
Filling and Sanding Repaired Areas
After you've cleared the walls, you'll probably notice little holes or cracks, especially where you removed those fixtures. Now's the time to fill them. Grab some good quality wall filler. For cracks, sometimes it helps to gently widen them a bit with your scraper before filling – this helps the filler stick better. Apply the filler, let it dry completely, and then comes the sanding. You want these filled spots to be perfectly smooth and level with the rest of the wall. A medium-grit sandpaper usually does the trick. Don't forget to wipe away all the dust after sanding.
Final Wall Inspection Before Painting
Before you even think about opening a can of paint, give your walls one last look-over. Run your hand over the surfaces. Do you feel any bumps or rough spots? See any lingering dust or grime? A clean, smooth surface is the absolute key to a professional-looking paint job. If you spot any issues, now is the time to fix them. It's much easier to do it now than after you've already painted!
Don't rush this final check. It's the last chance to catch any imperfections that could show up once the paint is on. A little extra attention here saves a lot of headaches down the road.
Getting your walls ready for paint is super important for a great finish. It's not just about slapping on a new color; it's about making sure the surface is smooth and clean so the paint looks its best and lasts longer. Taking the time to prepare properly can save you a lot of headaches down the road. Want to learn the best ways to get your walls prepped like a pro? Visit our website for all the tips and tricks!
Wrapping Up: Your Walls Are Ready!
So, you've wrestled with that old wallpaper, scraped, sanded, and cleaned until your arms ache. Phew! It might have felt like a marathon, but look at those smooth, clean walls. That's the reward for all your hard work. Taking the time to prep properly means your new paint job will look fantastic and last way longer. No more peeling edges or bumpy finishes to stare at. Now you can finally get to the fun part – painting! Grab your brushes and rollers, and enjoy making your space feel brand new. You totally earned this.
Frequently Asked Questions
Why is preparing walls so important before painting?
Think of preparing your walls like getting ready for a big test. If you don't study (prepare), the result (your paint job) won't be as good. A clean, smooth wall helps the new paint stick better, look more even, and last longer. Skipping this step means you might end up with bumpy, patchy, or peeling paint later on.
What's the best way to remove old wallpaper?
Start by covering your floors and furniture! Then, you'll usually need to score the wallpaper with a special tool so a remover solution can soak in. After letting it sit, you can scrape it off with a putty knife. For really tough spots, a wallpaper steamer can be a lifesaver.
What if there's sticky glue left on the wall after removing wallpaper?
Don't worry, that sticky stuff is common! You'll need to wash the walls with warm, soapy water or a special cleaner like sugar soap. After washing, you might need to lightly sand the walls to get rid of any remaining residue and make the surface super smooth.
Do I really need to use primer?
Yes, primer is like a magic potion for your walls! It creates a smooth, even surface for your paint to go on. It helps the new paint color look true and can cover up any light stains or unevenness from the old wall. It's especially helpful if you're painting over a dark color or a glossy finish.
What should I do about small holes or cracks in the wall?
Before you paint, you'll want to fill any little holes or cracks. Use a good quality filler and let it dry completely. Once it's dry, sand it down so it's perfectly smooth and level with the rest of the wall. This makes sure those repaired spots don't show through the new paint.
How clean do my walls need to be before I paint?
Your walls should be spotless! Any dust, dirt, or grease will stop the paint from sticking properly. You'll need to wash them down thoroughly, making sure to rinse away all soap and cleaner. And most importantly, let them dry completely before you even think about picking up a paintbrush.


Comments
Post a Comment