Wallpaper Removal Horror Stories: Learn How Pros Conquer Them
Wallpaper removal can seem straightforward, but many homeowners quickly find out it's anything but. What looks like a simple peel-and-stick job can turn into a sticky, messy, and frustrating ordeal. We've all heard the stories, and maybe even lived through one ourselves. This article dives into those common wallpaper removal horror stories and, more importantly, how the pros handle them to get the job done right.
Key Takeaways
- DIY wallpaper removal often leads to unexpected problems like stubborn adhesive, multiple layers of paper, and damage to the underlying walls.
- Pros understand that wallpaper can hide deeper issues, such as water damage or poor wall preparation, which need to be addressed before new finishes are applied.
- Proper preparation, including the right primer and scoring techniques, is vital for making wallpaper removal easier and preventing damage.
- Knowing when to call in the experts is crucial, especially when dealing with extensive damage, plumbing issues hidden behind walls, or when DIY attempts have gone wrong.
- Learning from others' mistakes, like rushing the process or not assessing the wall condition, can save homeowners time, money, and a lot of stress.
The Unexpected Challenges of Wallpaper Removal
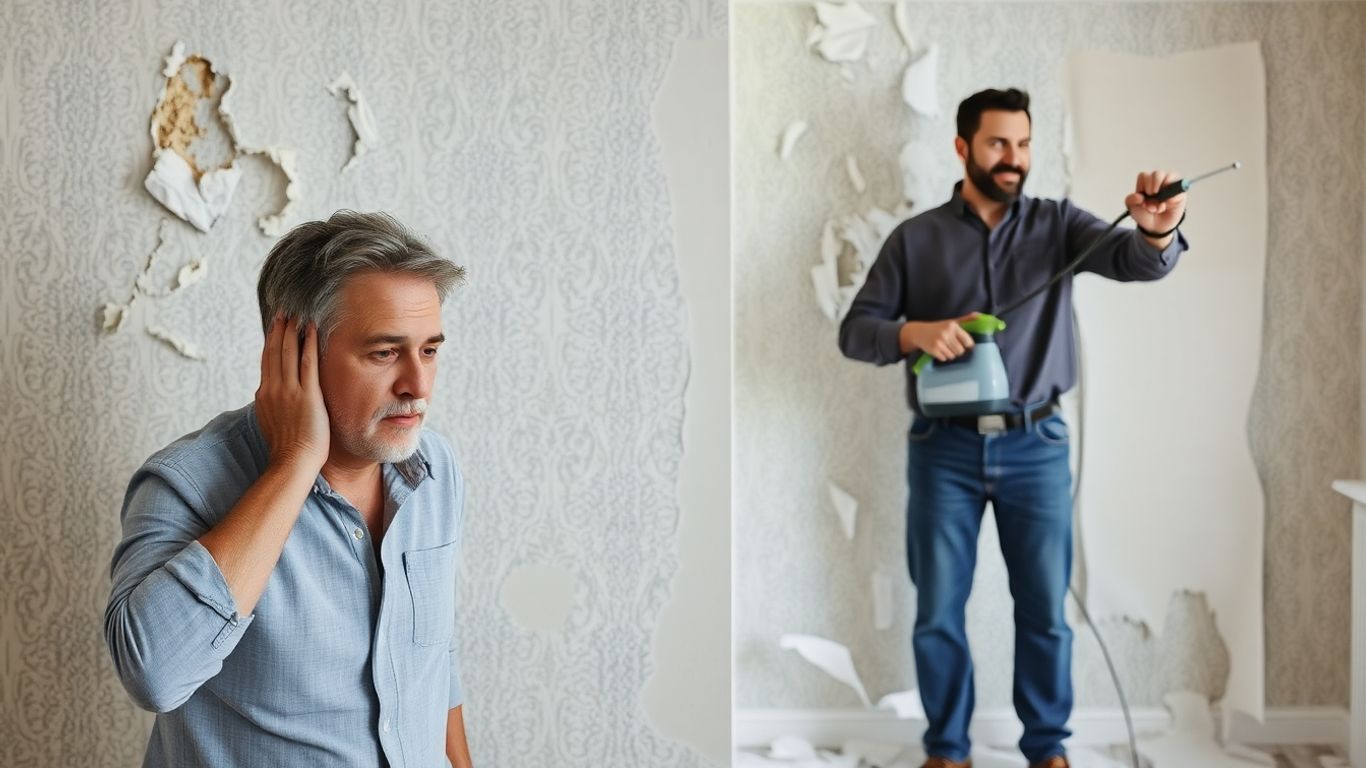
When DIY Dreams Turn Into Nightmares
So, you've seen those perfectly papered rooms on social media and thought, "How hard can it be?" Many of us have been there, envisioning a quick weekend project that transforms a drab wall into a statement piece. But the reality of wallpaper removal can quickly shift from exciting DIY to a full-blown headache. What looks like a simple peel-and-stick job can turn into hours of scraping, sanding, and even drywall repair. The biggest surprise is often how much the wallpaper and its adhesive have bonded with the wall over time. It's not just paper; it's a stubborn layer that's become part of the structure.
The Hidden Dangers Beneath The Surface
Peeling back that first layer of wallpaper can feel like opening a Pandora's Box. You might uncover more than just old adhesive. Sometimes, previous wallpaper jobs were done without proper wall preparation, meaning you could find:
- Uneven or damaged drywall underneath.
- Mold or mildew, especially in older homes or bathrooms.
- Evidence of past water damage that was simply covered up.
- Multiple layers of old wallpaper, each with its own tenacious glue.
These hidden issues can significantly increase the time and cost of your project, turning a simple removal into a complex repair job.
When Wallpaper Hides Deeper Issues
Wallpaper isn't just decorative; it can also act as a sort of bandage for underlying wall problems. Think of it like this: if a wall has minor cracks or imperfections, wallpaper can cover them up. When you remove the wallpaper, those imperfections reappear, often looking worse than before because the adhesive has pulled at the paint and drywall paper. In some cases, wallpaper might even be hiding structural issues or significant damage that needs professional attention before any new wall treatment can be applied. It's a stark reminder that what's on the surface isn't always the whole story.
Sometimes, the most challenging part of wallpaper removal isn't the paper itself, but the condition of the wall it's been hiding. What seems like a straightforward task can quickly become a lesson in home repair, revealing issues you never knew existed.
Common Wallpaper Removal Horror Stories (and How Pros Avoid Them Every Time)
The Stubborn Adhesive That Won't Budge
Ever peeled back a corner of wallpaper only to find the adhesive has basically become one with the drywall? It's a common nightmare. Sometimes, the glue used is just incredibly strong, or maybe it's been on the wall for decades, baking in the sun or reacting to humidity. Pros know that not all adhesives are created equal. They often start by testing a small, inconspicuous area to see how the wallpaper and its glue behave. If it's a real tough nut to crack, they might use a steamer or a specialized chemical stripper, applied carefully to avoid damaging the wall underneath. The key is patience and the right chemical cocktail.
When Layers Reveal More Layers
This is the one that really gets people. You start stripping what you think is a single layer of wallpaper, and suddenly, you're uncovering another pattern underneath. And then another. It's like a wallpaper onion! This usually happens in older homes where previous owners loved to wallpaper over existing paper instead of properly removing it. Pros have a few tricks up their sleeve. They'll often score the wallpaper first, which helps water or stripper penetrate multiple layers. They also know that sometimes, the only way to get through is with a heavy-duty steamer, working section by section. It's tedious, but it beats trying to peel off a dozen layers of ancient floral prints.
The Dreaded 'Gas Station Bathroom' Scenario
You know the look: that cheap, vinyl-coated wallpaper that feels plasticky and is often found in, well, less-than-glamorous bathrooms. This stuff is notoriously difficult to remove. The vinyl coating prevents water or stripper from soaking through to the adhesive. When you try to peel it, it often tears into tiny, confetti-like pieces, leaving the paper backing and a whole lot of glue stuck to the wall. Professionals often tackle this by scoring the vinyl surface extensively, creating tiny holes for the solution to penetrate. Sometimes, a heat gun can also help soften the vinyl and the adhesive, making removal a bit less of a battle. It's a situation where you really need the right tools and a good dose of persistence.
Professional Strategies for Seamless Wallpaper Removal
The Importance of Proper Priming
When it comes to wallpaper, a good primer isn't just about making it stick; it's also about making it come off later without a fight. A quality primer helps the wallpaper adhere well, but more importantly, it creates a barrier. This barrier prevents the wallpaper paste from directly bonding with the drywall underneath. Without it, the paste can soak into the drywall paper, making removal a messy, tear-inducing ordeal. Professionals know that a properly dried primer layer is key. Rushing this step, or using a cheap primer, can lead to the paste reactivating when you try to remove the paper, essentially becoming one with the wall. This makes for a removal process that's way harder than it needs to be.
Tools and Techniques Pros Rely On
Pros have a whole arsenal of tools and tricks up their sleeves that make wallpaper removal look easy. They understand that different wallpapers and adhesives require different approaches. For stubborn adhesives, they might use specialized steamers that deliver just the right amount of heat and moisture to loosen things up without damaging the wall. Scoring tools are also a common sight, creating tiny perforations in the wallpaper so that removers and water can penetrate the surface more effectively. They also know how to work with the material, using wide putty knives or specialized scrapers at the right angle to lift the paper without gouging the drywall. It’s all about precision and knowing which tool to use for which job.
Here's a quick look at some common tools:
- Wallpaper Steamer: Great for loosening old, stubborn paste.
- Scoring Tool: Creates small holes for removers to penetrate.
- Putty Knife/Scraper: Used to lift and peel wallpaper.
- Sponge and Water Bucket: For general wetting and cleaning.
- Drop Cloths: To protect floors and furniture.
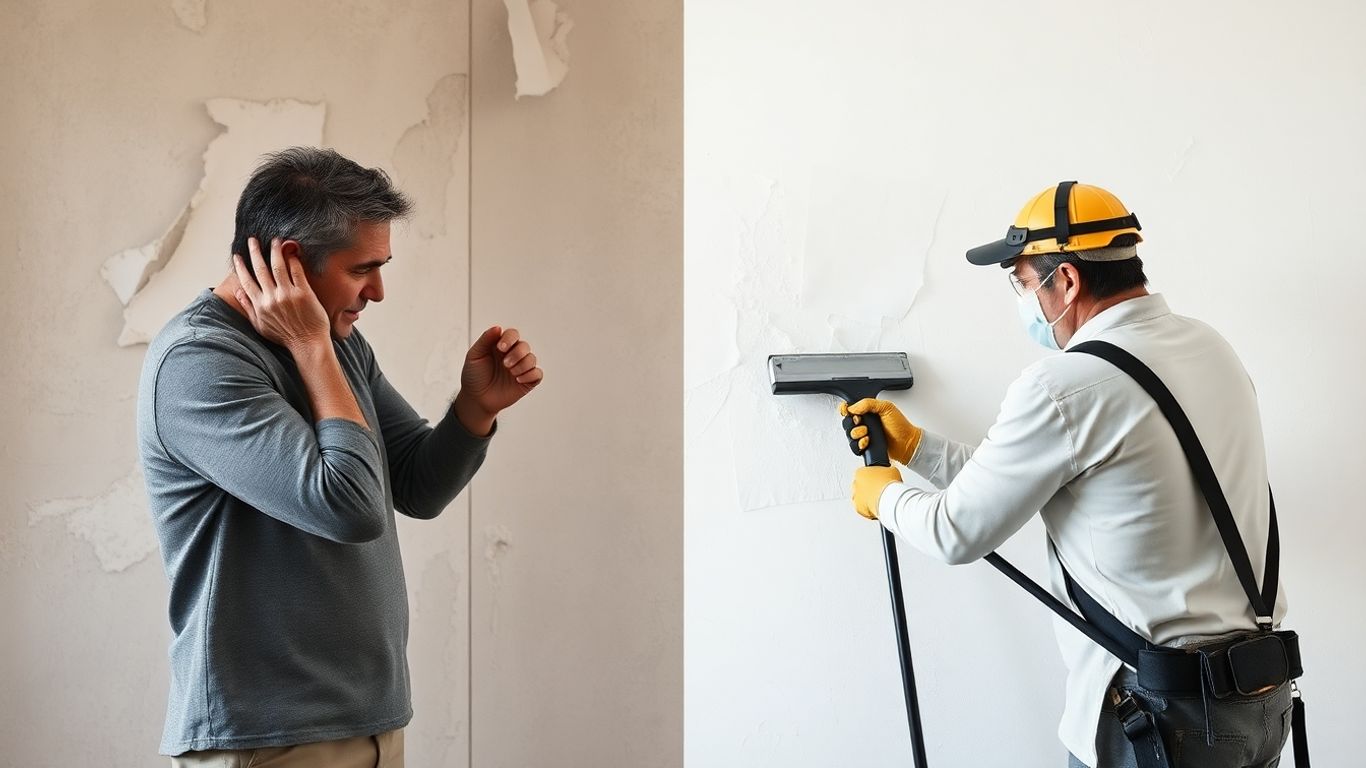
When to Call in the Experts
Sometimes, you just know when a job is beyond your DIY skills. If you've tried removing wallpaper yourself and ended up with torn drywall, stubborn adhesive residue, or discovered mold or water damage underneath, it's probably time to call in the pros. They have the experience to deal with unexpected issues like old, lead-based paints or structural problems hidden behind the paper. Plus, they can often complete the job much faster and more efficiently than a homeowner, saving you time, frustration, and potentially costly mistakes. If the wallpaper is particularly old, vinyl-coated, or has multiple layers, professional help is often the smartest route.
Professionals understand that wallpaper removal isn't just about peeling off paper. It's about carefully assessing the situation, using the right tools and techniques, and preparing the wall for its next life, whether that's a fresh coat of paint or new wallcovering.
Learning From Others' Wallpaper Woes
Sometimes, the best way to learn is by seeing what went wrong for someone else. Wallpaper removal can seem straightforward, but trust me, there are plenty of ways a DIY project can turn into a real headache. We've all seen those online videos where wallpaper peels off in giant, satisfying sheets. That's not always the reality, though.
The Plumbing Predicament Behind The Paper
One of the scariest things you can discover when removing wallpaper is what's lurking underneath. It's not always just drywall. Sometimes, previous homeowners or even contractors might have done some questionable plumbing work behind the walls. Imagine you're happily scraping away, only to find a leaky pipe or, worse, evidence of past water damage that was just covered up. This is why a professional assessment is so important before you even start. They can spot potential issues that a DIYer might miss, saving you from a much bigger, more expensive repair down the line.
DIY Disasters and Costly Mistakes
Many people jump into wallpaper removal thinking it's a quick weekend project. They might not use the right tools, or they might not understand how different types of wallpaper and adhesives behave. For instance, some older wallpapers are glued on with a super-strong adhesive that just doesn't want to let go. Trying to force it can lead to tearing up the drywall underneath, turning a simple removal into a drywall repair job. This is a common mistake that adds significant cost and time. It's often better to prepare the room properly by clearing it and then scoring the wallpaper to help the removal solution penetrate the wall surface.
The Value of Professional Assessment
Before you even think about peeling that first corner, consider what a professional brings to the table. They've seen it all. They know how to identify different types of wallpaper and adhesives, and they have the specialized tools to handle stubborn situations. They can also assess the condition of the wall beneath the paper. Sometimes, wallpaper was applied to cover up existing wall damage, and removing it can reveal cracks, holes, or even mold. A pro can spot these issues early on. They understand the importance of proper priming before new wallpaper or paint goes up, which helps with both adhesion and future removal. It's about avoiding those costly mistakes that come from not knowing what you're dealing with.
Conquering Stubborn Wallpaper: Pro Tips and Tricks
Understanding Different Wallpaper Types
Not all wallpaper is created equal, and knowing what you're up against is half the battle. Vinyl-coated wallpapers, for instance, are tough cookies. They have a plastic-like surface that can make it hard for water or removers to penetrate. Then there's paper-backed vinyl, which is a bit more forgiving. Fabric-backed vinyl is another beast entirely, often requiring more aggressive methods. And let's not forget the old-school, unpasted varieties that rely solely on adhesive. The type of wallpaper dictates the removal strategy.
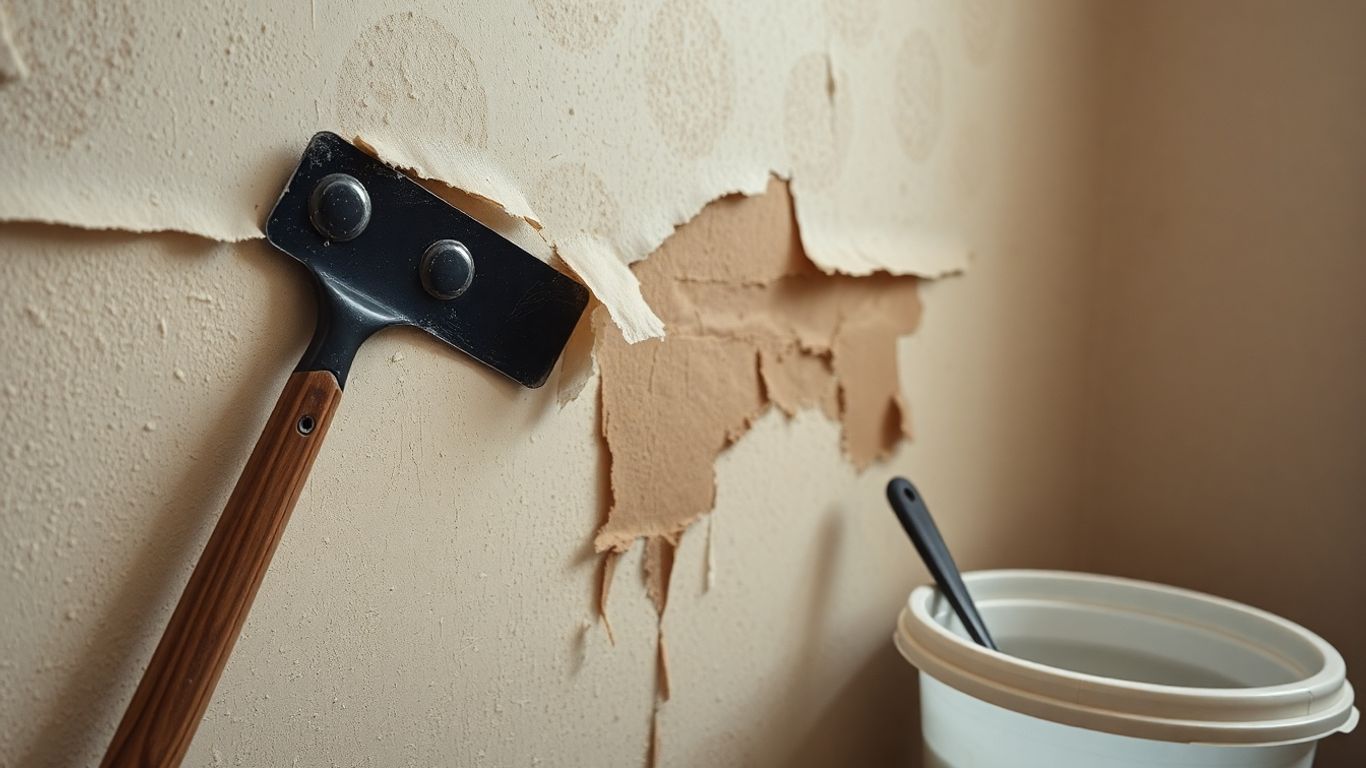
The Right Way to Soak and Score
For many wallpapers, especially the vinyl-coated ones, scoring is your best friend. This means making tiny perforations in the wallpaper surface so your chosen stripper can actually get to the adhesive underneath. You don't need to go crazy here; a light scoring with a specialized tool or even a stiff brush will do. After scoring, it's time to soak. Use a warm water and a bit of dish soap, or a dedicated wallpaper remover solution. Apply it generously with a sponge or a sprayer. Let it sit for a good 10-15 minutes – patience is key! You want that solution to really break down the glue.
Here's a quick rundown of common wallpaper types and their general removal approach:
| Wallpaper Type | Adhesive Type | Removal Strategy |
|---|---|---|
| Vinyl-Coated | Strong | Score heavily, use strong chemical stripper, peel. |
| Paper-Backed Vinyl | Moderate | Score lightly, use warm water/stripper, peel. |
| Fabric-Backed Vinyl | Strong | Score, use stripper, may need scraping. |
| Unpasted (Traditional) | Varies | Soak thoroughly, scrape carefully. |
| Peel-and-Stick | Removable | Peel slowly, may leave residue requiring cleaning. |
Dealing with Damaged Drywall
Sometimes, no matter how careful you are, the drywall paper underneath the wallpaper gets damaged. This is super common, especially with older homes or if the wallpaper was applied over poorly prepared walls. If you find gouges, tears, or soft spots, don't panic. Small imperfections can often be fixed with a bit of joint compound (mud). You'll want to skim coat the damaged areas, let them dry completely, sand them smooth, and then prime before you even think about painting or applying new wallpaper. For more significant damage, you might need to cut out the bad section and patch it with new drywall. It's an extra step, but it's way better than living with a wall that looks like it lost a fight.
When you're removing wallpaper, especially older types, it's easy to get carried away and damage the drywall underneath. The key is to work methodically. If you're using a steamer, keep it moving and don't let it sit in one spot for too long. If you're scraping, use a tool with a sharp, clean blade and hold it at a low angle to avoid digging into the wall. Always test a small, inconspicuous area first to see how the wallpaper and adhesive react to your chosen method.
Tired of that old wallpaper staring back at you? Getting it off can be a real pain, but don't worry! We've got some simple secrets to make wallpaper removal much easier. You'll be amazed at how quickly you can get your walls ready for a fresh new look. Ready to say goodbye to stubborn paper? Visit our website for all the pro tips and tricks you need!
So, What's the Takeaway?
Look, dealing with old wallpaper can be a real pain. We've heard some wild stories, from stubborn layers that just won't budge to hidden damage lurking behind the scenes. It's easy to get overwhelmed, but remember, even the toughest wallpaper jobs can be conquered. Sometimes it takes a pro, sometimes it's a bit of DIY grit, and often it's a mix of both. The main thing is to be prepared, know when to call for backup, and don't be afraid to learn from others' mistakes (and successes!). With the right approach, you can tackle that wallpaper and get your walls looking fresh and new.
Frequently Asked Questions
Why is removing wallpaper so difficult sometimes?
Wallpaper can be tricky to remove because the adhesive used can be super strong. Sometimes, the wallpaper itself is made of materials that don't soak up water well, making it hard to loosen. Plus, older homes might have wallpaper applied directly to unprimed drywall, which means the paper can pull off the paper layer of the drywall itself, creating a real mess.
What are the 'hidden dangers' under wallpaper?
Underneath wallpaper, you might find mold or mildew if there was moisture problems behind the paper. You could also discover damage to the drywall, like cracks or holes, or even old, poorly repaired patches that the wallpaper was hiding. Sometimes, there are multiple layers of old wallpaper that are extremely stubborn.
How do professionals make wallpaper removal look easy?
Pros have learned the best techniques and use special tools. They know how to properly wet the wallpaper to activate the glue without damaging the wall. They also use tools like scoring tools to create tiny holes so the water can get through, and scrapers that are designed to get under the paper without gouging the wall. They also understand different types of wallpaper and adhesives.
What's the deal with multiple layers of wallpaper?
Sometimes, instead of fully removing old wallpaper, people just put new wallpaper right over the top. This creates multiple layers that are much harder to get off. Each layer has its own adhesive, making the whole process much more time-consuming and difficult.
When should I consider calling a professional for wallpaper removal?
If you've tried removing the wallpaper yourself and it's not coming off easily, or if you're seeing damage to your walls, it's a good time to call a pro. Also, if you suspect there might be mold or significant wall damage hidden underneath, an expert can handle it safely and effectively.
What's the most important thing to do before removing wallpaper?
The most crucial step is to properly prepare the wall. This often involves using a special primer designed for wallpaper removal. A good primer helps the new wallpaper adhere better and, importantly, makes the old wallpaper easier to remove later on by preventing the paste from bonding too strongly to the wall surface.
Comments
Post a Comment